Mastering the Perfect Pumpkin Pie: Essential Baking & Doneness Tips
Calling a recipe "perfect" is a bold claim, especially when it comes to a beloved holiday staple like pumpkin pie. Yet, with a single bite of a truly exceptional slice, you understand why some dishes earn that esteemed title. The quest for the
perfect pumpkin pie is a time-honored tradition, particularly as Thanksgiving approaches, and the pressure is on to deliver a dessert that delights everyone at the table. Fortunately, achieving this culinary ideal is more accessible than you might think, combining smart ingredient choices with precise baking techniques.
This comprehensive guide will walk you through everything from selecting the right components to mastering the crucial "jiggle test," ensuring your homemade pumpkin pie is not only delicious but also flawlessly baked. We'll help you navigate common pitfalls and equip you with the knowledge to craft a creamy, spiced filling nestled in a golden, flaky crust, guaranteeing a dessert that tastes entirely from scratch, often with a fraction of the effort.
The Quest for the Perfect Pumpkin Pie: Why It Matters
The pumpkin pie is undeniably the star of the Thanksgiving dessert spread. Its warm, comforting flavors and inviting aroma signal the heart of fall and the joy of festive gatherings. But what elevates a good pumpkin pie to the status of "perfect"? It's a harmonious balance of texture, flavor, and presentation – a creamy, spiced filling that melts in your mouth, a tender crust that doesn't overwhelm, and an overall visual appeal that tempts every guest.
Starting Strong: The Foundation of Flavor
Every great pie begins with its crust. While a homemade, from-scratch crust offers unparalleled satisfaction, the reality is that many busy home cooks achieve the
perfect pumpkin pie with the help of a quality refrigerated pie crust. These ready-made options offer a significant head start, delivering a flaky, buttery base that tastes remarkably homemade without the extensive time commitment. The key is to choose a brand known for its quality and to handle it gently to maintain its flakiness. The goal is a crust that provides a delightful contrast to the smooth filling, offering both structural integrity and a complementary flavor profile.
Ingredient Integrity: The Unsung Heroes
The filling for a pumpkin pie seems straightforward, but two critical ingredients often lead to confusion and can make or break your results: evaporated milk and canned pumpkin.
*
Evaporated Milk vs. Sweetened Condensed Milk: This is a common point of error.
Do not swap evaporated milk for sweetened condensed milk! While both are concentrated dairy products, sweetened condensed milk has a significantly higher sugar content and a much thicker consistency. Using it instead of evaporated milk will result in an overly sweet pie with a gummy, dense texture that is far from the light, creamy custard you desire for a perfect pumpkin pie. Evaporated milk provides the necessary richness and liquid content without adding excessive sweetness.
*
Canned Pumpkin vs. Canned Pumpkin Pie Mix: Always read your labels carefully! Canned pure pumpkin (sometimes labeled "100% pure pumpkin" or "pumpkin purée") is simply cooked, mashed pumpkin. Canned pumpkin pie mix, however, already contains sugar, spices, and sometimes other ingredients. Using pumpkin pie mix when your recipe calls for pure pumpkin will throw off the flavor balance, making your pie excessively sweet and spiced, potentially ruining the delicate balance of your recipe. Stick to pure canned pumpkin for ultimate control over your pie's flavor profile.
Mastering the Mix: Techniques for a Silky Smooth Filling
Once you have your ingredients, the way you combine them plays a pivotal role in achieving that coveted silky, uniform filling.
The Separate Bowl Strategy
This seemingly simple technique is a secret weapon for professional bakers and home cooks alike:
mix the wet and dry ingredients separately. Begin by whisking all your dry ingredients (sugar, spices, salt) together in one bowl. This ensures that the spices and sugar are evenly distributed, preventing pockets of unmixed flavor or gritty texture. In a separate, larger bowl, whisk your wet ingredients (pumpkin purée, eggs, evaporated milk, vanilla, etc.) until well combined.
Achieving Consistency
Once both sets of ingredients are prepped, gradually add the dry mixture to the wet mixture, whisking continuously until just combined. The goal here is thorough incorporation without overmixing. Overmixing can introduce too much air into the custard, which can lead to cracks on the surface of your pie as it bakes and cools. A smooth, homogenous batter is what you're aiming for, free of any lumps or streaks, ensuring a consistently creamy texture in every bite of your
perfect pumpkin pie.
Baking Your Perfect Pumpkin Pie to Doneness: The Ultimate Test
This is where many home bakers feel the most anxiety. Is it done? Is it underdone? Is it overbaked? Getting the timing and doneness just right is paramount for a creamy, perfectly set custard.
Temperature and Timing: The Balancing Act
Most pumpkin pie recipes call for an initial blast of higher heat (e.g., 425°F or 220°C) for the first 10-15 minutes, followed by a reduction to a lower temperature (e.g., 350°F or 175°C) for the remainder of the baking time. This initial high heat helps to set the crust and the outer edges of the custard quickly, preventing a soggy bottom. The subsequent lower temperature allows the custard to cook gently and evenly through to the center without over-browning the crust or curdling the filling. Always preheat your oven thoroughly and ensure your pie goes into a hot oven.
The Jiggle Test: Your Secret Weapon
The easiest and most reliable way to tell if your homemade pumpkin pie is ready is the "jiggle test." Approximately 10-15 minutes before the recipe's minimum suggested baking time, put on oven mitts and gently nudge the pie plate.
*
What to look for: The edges of the pie should appear set, firm, and perhaps slightly puffed. The very center (about a 2-inch diameter circle) should have a slight, almost imperceptible wobble, like gelatin. It should *not* be liquidy or sloshy.
*
Why it works: Custards continue to cook and set after they're removed from the oven due to residual heat. This phenomenon is called "carryover cooking." If you bake your pie until the center is completely firm in the oven, it will likely be overbaked, leading to cracks, a dry texture, and potentially curdling. A slight jiggle indicates that the pie is almost done and will finish setting perfectly as it cools.
Beyond the Jiggle: Other Doneness Indicators
While the jiggle test is king, here are a few other signs to cross-reference:
*
Knife Test (Use with caution): Some bakers insert a thin knife or skewer into the center of the pie, about an inch from the edge. If it comes out clean, the pie is done. However, this can leave a small mark.
*
Crust Appearance: The crust should be golden brown. If it’s browning too quickly, you can gently cover the edges with aluminum foil.
*
Visual Cues: The surface of the pie might start to look duller or matte, rather than shiny. Some very slight cracks around the edges can indicate it's nearly done, but prominent cracks often mean it's slightly overbaked.
Once the pie passes the jiggle test, carefully remove it from the oven and place it on a wire rack to cool completely, usually for at least 2-3 hours, or even overnight. Resist the urge to cut into it too soon, as it needs this time to fully set and achieve its creamy texture.
Elevating Your Pumpkin Pie: Beyond the Bake
A perfectly baked pumpkin pie is a masterpiece on its own, but a few final touches can elevate it from delicious to truly unforgettable.
Decorative Flourishes
The crust of your pie offers an excellent canvas for personalizing your creation. While a simple, crimped edge is classic, you can easily create more elaborate designs that will impress your guests and make your
perfect pumpkin pie stand out.
*
Scalloped Edge: Place your thumb and index finger about an inch apart on the outside of the raised crust edge. With your other index finger, push the pastry toward the outside to form a scalloped edge.
*
Rope or Pinched Edge: Place the side of your thumb on the pastry edge at an angle. Pinch the pastry by pressing the knuckle of your index finger down into the pastry toward your thumb. Repeat all around.
*
Forked Edge: Press a fork into the crust edge, facing inward. Do not press through the pastry. Rotate the fork to always face the center of the pie as you work your way around the edge.
These simple techniques transform the visual appeal of your pie, making it look as impressive as it tastes. For even more inspiration and detailed instructions on how to make your pie shine, explore these
Impress Your Guests: Foolproof Pumpkin Pie & Decor Tips.
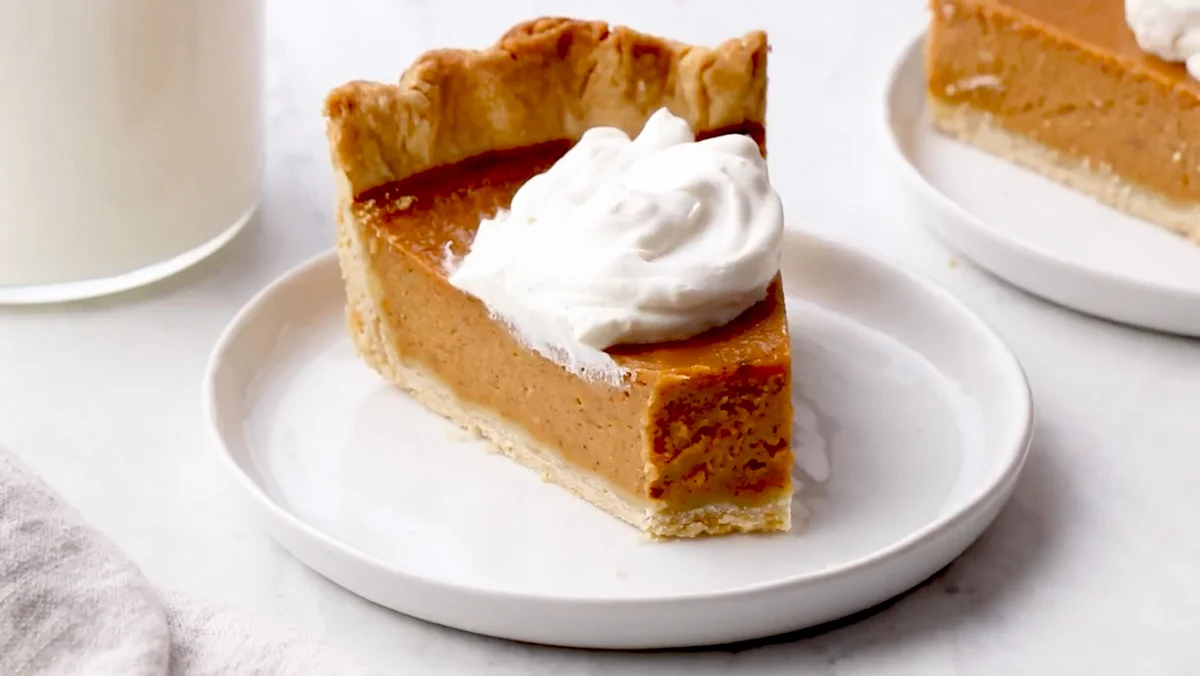
The Art of Serving
No slice of pumpkin pie is truly complete without a generous dollop of something extra. A cloud of freshly whipped cream is the quintessential accompaniment. To make your own, simply beat together 1/2 cup of cold whipping cream with 1 tablespoon of powdered sugar and 1/2 teaspoon of vanilla extract until soft peaks form.
Beyond whipped cream, consider other inventive toppings like a drizzle of caramel sauce, a sprinkle of toasted pecans, or a dusting of cinnamon or nutmeg. These additions add another layer of texture and flavor, inviting your guests to enjoy every last bite of your spectacular creation. For more ideas on how to craft a truly memorable dessert, consider how to achieve
Perfect Pumpkin Pie: Homemade Taste with Minimal Effort.
Creating the
perfect pumpkin pie doesn't require culinary wizardry; it demands attention to detail, quality ingredients, and an understanding of key baking principles. By choosing your ingredients wisely, mastering your mixing technique, and trusting the invaluable "jiggle test" for doneness, you'll consistently produce a pie that is warm, cozy, and packed with the quintessential flavors of fall. This Thanksgiving, take pride in serving a homemade classic that is sure to become a cherished family tradition, impressing everyone with its flawless texture and unforgettable taste.